|
Spire v3.3+ allows the end user to perform minor upgrades of Spire
on their own, if you are comfortable with installing software.
PLEASE NOTE: DO NOT follow these instructions for an upgrade of
Spire if ...
- the upgrade involves a major version change, such as from v2
to v3.
- there are significant database changes from your existing
version to the version you are upgrading to, in particular if
you have custom reports or forms, or add-on software that
interacts with Spire. Please consult your Spire Partner or
Wildwood Canada if you are in doubt.
Prerequisites
- You should only embark on this installation sequence if you
are comfortable with installing software.
- Please consult your Spire Partner or Wildwood Canada if you
are unsure if you should perform the upgrade yourself.
- This upgrade MUST be done on the Spire Server computer
itself, NOT from a Spire desktop computer.
- You need to have Spire Server Admin rights to do this
process.
STEPS TO UPGRADE YOUR SPIRE INSTALLATION
You need to be set as a Spire Administrator in order to do this.
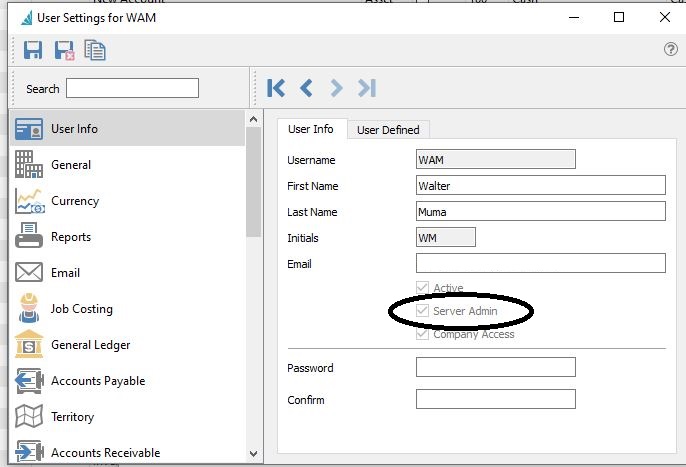
Access Spire Administration
You MUST be on the actual Spire server
computer itself to run this installation. It SHOULD NOT be run from
a desktop computer.
Therefore you CANNOT do this by accessing Server Administration via
the Tools menu in Spire.
On the server start a browser, preferably Microsoft Edge, or
Google Chrome.
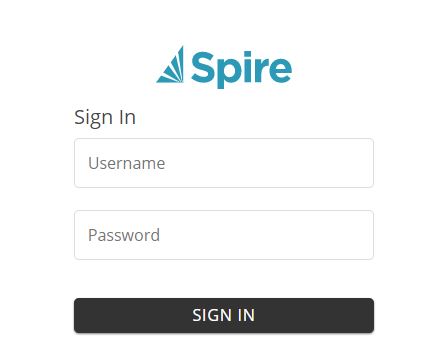
The URL is usually
http://localhost:10880
Login with your Spire username and password:
Download the Spire upgrade installation file
In the upper right corner of the screen you will see an upgrade
indicator - the bell with a number on it. The number indicates the
number of potential upgrades that are available. In this case, there
is one upgrade available.

An Update notice appears. In this example, it is offering an upgrade to
v3.5.9, which contains the Jan 2021 Payroll Update.
***VERY IMPORTANT: If you are doing this in
Dec 2020 or Jan 2021 for the payroll update, please DO NOT select
v3.6 if it is available.
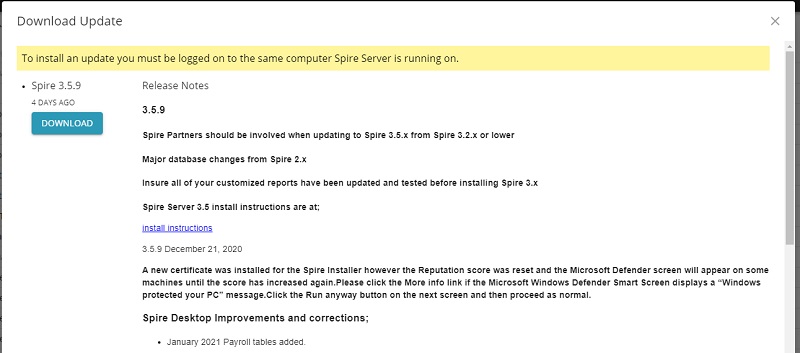
Click on the DOWNLOAD button to download the Spire Server upgrade
file. The file is downloaded by your browser into the usual location
where downloads are saved - Usually your Windows Downloads folder.
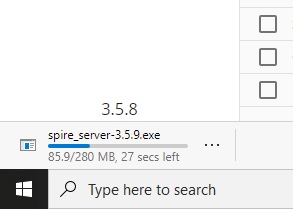
If you are using the new Microsoft Edge browser (recommended), the
download may be accessed in the lower left corner of your browser
window, as show here:
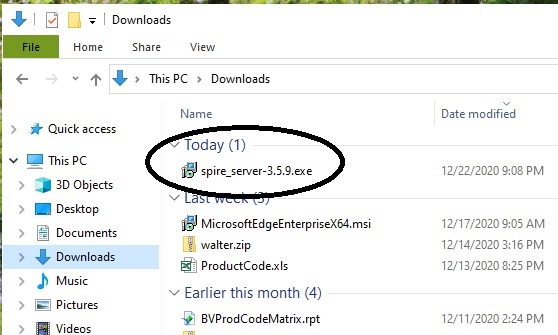
Or access it via your Windows Downloads folder, shown here:
Starting the Spire Server installation
Double-click on the spire_server-3.5.9.exe file. It will be
labeled with the version number: in this case, 3.5.9x.
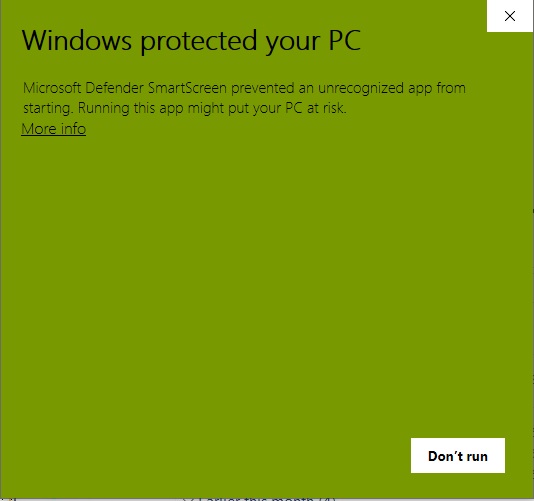
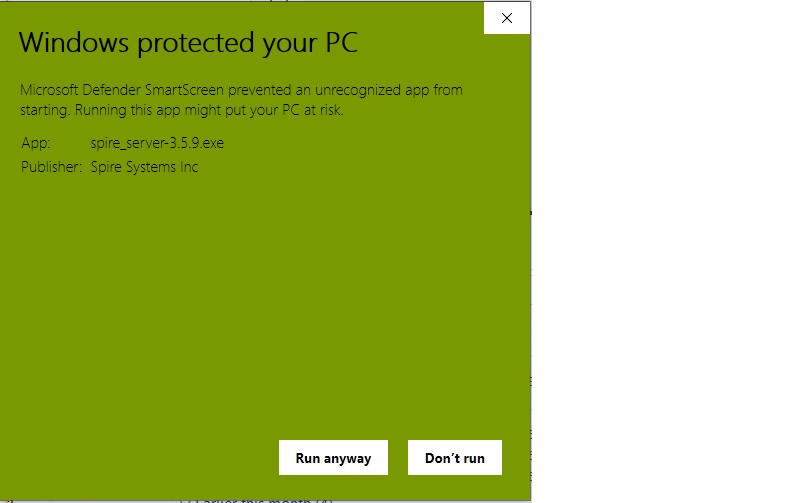
You may get one or more messages from Windows about an unsafe
file. This is because it is an "exe" file. Tell Windows you want to
keep this file and run it. Click "More Info, and then "Run Anyway".
Spire Server Installation
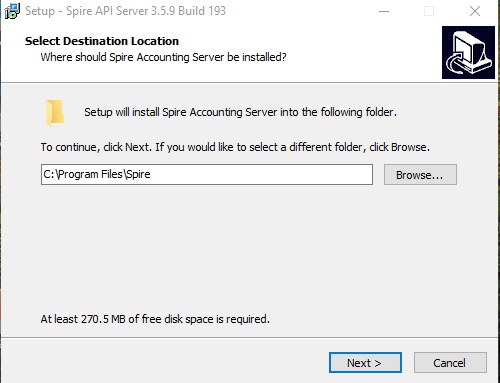
Simply accept the defaults for each screen by clicking Next.
Select either Enable or Disable Data Collection, as you prefer
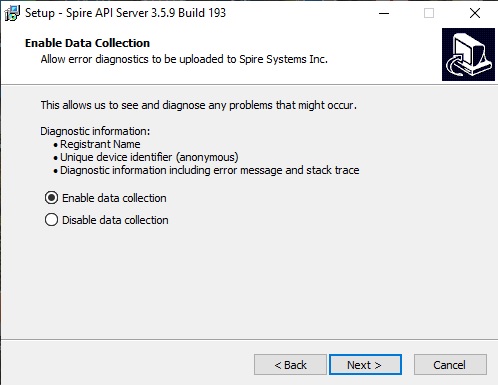
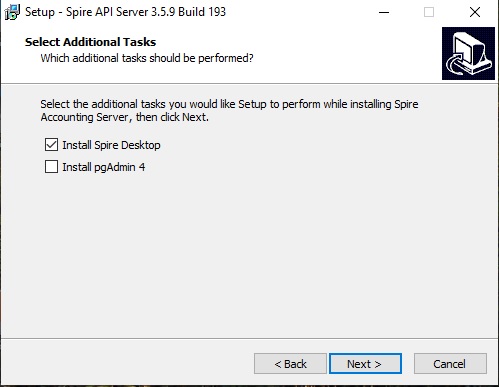
There should be no need to install pgAdmin4, as it should already
be installed.
Install Spire Desktop if you want it available on the Spire server
computer.
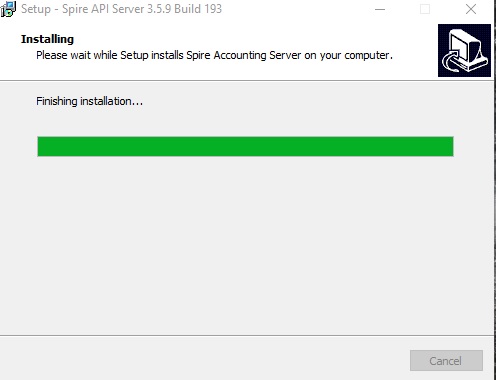
Various installation messages will be presented, and you will
eventually see the completion message.
When completed, you will be offered the login to the Spire Server
Administration again.
It is best to log back in to see if a Database Upgrade is required
for your databases.
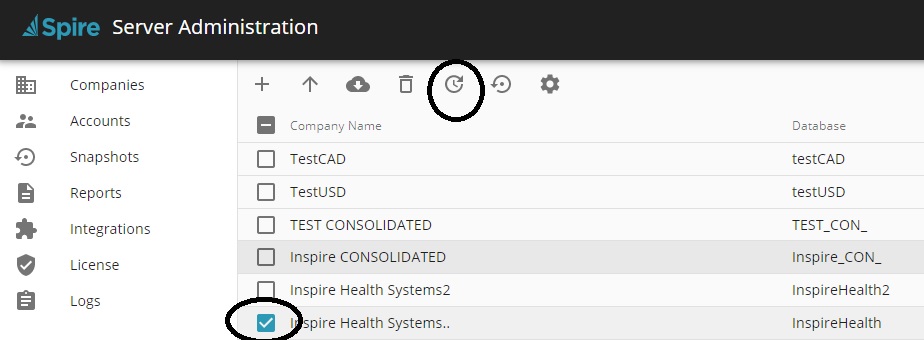
A Database Upgrade will be required for any companies that are
listed in italics.
Select those databases and click the Upgrade button above.
In this example, there are no databases that require upgrading, but
the Database selection and Upgrade button are highlighted.
Upgrade Spire Desktops
For each of your computers that run Spire... start Spire. Once
you login Spire will inform you that an upgrade is available. Elect
to install it. Just select the defaults that are presented to you.
The installation is actually quite easy.
That's it, you're done!
| 